

Sometimes it’s necessary to quickly create branding material from scratch, like when competing in a hackathon where time is not on your side. This article will show you my process for creating hacky “she’ll be right” brand identities. This is a continuation of my favourite free online resources for agile design article and you may like to refer to it throughout this article.
As an example, we’ll be creating three separate brands:
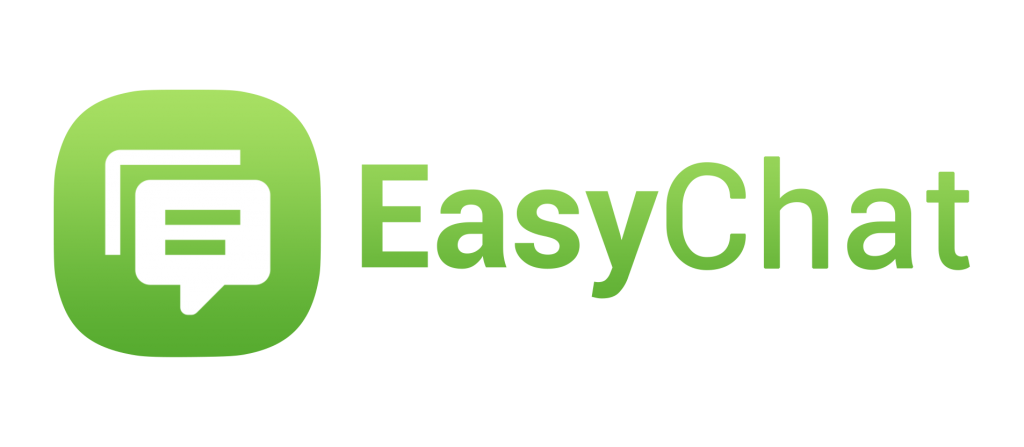
• EasyChat: A cross-platform messaging application.
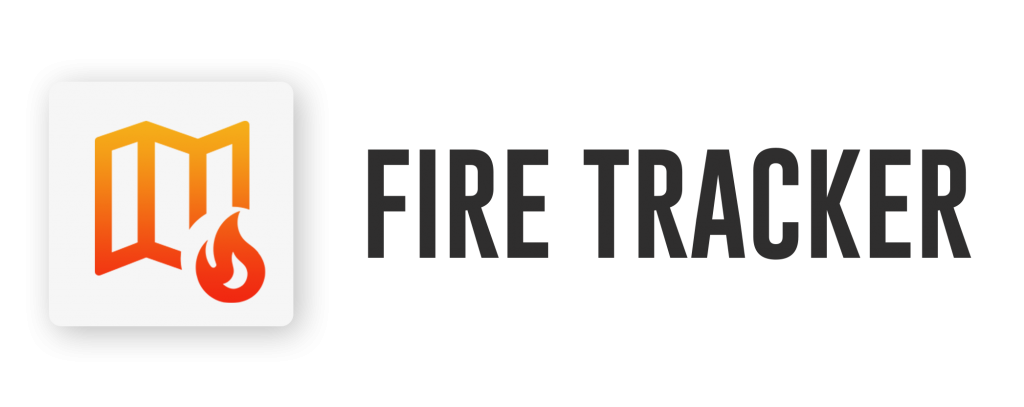
• Fire Tracker: A web-based tool for tracking bushfires.
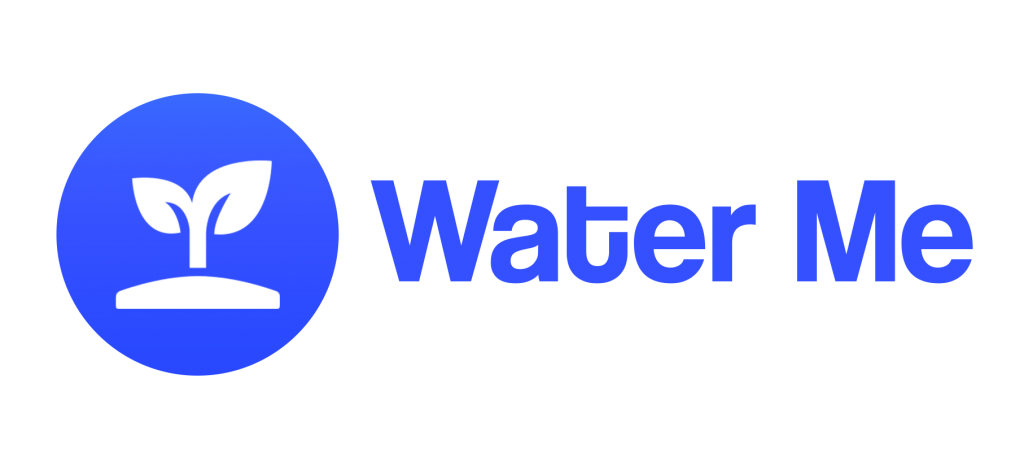
• Water Me: A mobile app for reminding you when to water your plants.
Step 1: Select an icon
I recommend choosing from https://materialdesignicons.com.
The icons I chose for my brands are below. I couldn’t find any icons that I was happy with for the Fire Tracker brand – so I combined two other icons to create my own.
| EasyChat | Fire Tracker | Water Me |
 |  |  |
Step 2: Add colour
I’ll be choosing some gradients from https://uigradients.com, but I also recommend https://www.materialui.co/colors if you’d like a flat colour theme instead.
Try to choose a colour that fits the theme of your brand, you can see the colours I’ve chosen for my brands below. I’ve also chosen different shapes for my icons to show just a tiny bit more character.
| EasyChat | Fire Tracker | Water Me |
 |  |
Step 3: Add the brand name text
My recommendations for this step is to use thicker fonts (thin lines will be difficult to see when zoomed out or from far away) and to keep things simple. Feel free to carry over the colours from the previous step to the text.
I source my fonts from https://www.dafont.com and sort by fonts that are ‘100% free’. In the completed examples below, the fonts Roboto, GoBold, and Coolvetica are used.
Step 4: Beautification (optional)
If you want to take things to the next level, PSD mockup files are what you’ve been looking for. for example, https://www.mockupworld.co/all-mockups contains a number of free mockup files for Photoshop that allow you to place a custom image onto preexisting designs like shirts, phones, and signs. If you don’t have a copy of Photoshop you can try a paid service such as https://placeit.net.
Below you can see that I have used a mockup PSD file to easily apply the created logos to a range of devices.

I follow this process religiously during hackathons as it’s incredibly fast and goes a long way in upping the overall presentation. However, there is no reason the same method couldn’t be applied outside this space.